Last update: 8th, February, 2013
Install eComStation to Lenovo ideapad S206
introduction
An installation tutorial which I have released before, there were still some problems in it. So, I looked again an installation process and made a new tutorial. The new tutorial is simple and easy than before.
Here are a comparison of each process.
| old tutorial | this tutorial |
| installation process | a little difficult | simple and easy |
HDD to HDD recovery
(pre-installed Windows) | unsupported | supported |
This simple tutorial shows you to use eComStation(eCS) 2.1 on Lenovo ideapad S206. And shows you to get "dual boot environment" which can use pre-installed OS(Windows). Also, this tutorial may apply to other computer system.
At first, you need some utility softwares and tools.
- HDD disk dump editor
- HDD parition editor
- Backup media
For example, I use "Acronis Disk Director Suite" as HDD disk dump editor.
Also, you need USB DVD drive to make up recovery media. DVD Drive must have a "write" function. Read-only drive(e.g.:DVD-ROM drive) is no use.
make a recovery media
At first, you must make a recovery media. Start Windows OS and create recovery DVD.
planning HDD partition
why planning HDD partition?
A default system configuration has no space to install eCS. So you have to create it.
planning!
The default HDD partition is as follows.
SYSTEM_DRV
(use by Windows7) | Windows7_OS
(system and user drive) | No label
(on S206, drivers included on this drive) | LENOVO_PART
(recovery image) |
notes
| Primary partition |
Extended partition
(Logical volume) |
The system has already 3 primary partitions. So I use current extended partition and create logical volume in it to install eCS.
Accordingly, my HDD partition planning is as follows.
| SYSTEM_DRV | Windows7_OS | No label | eComStation
(OS) | USER
(user data) | LENOVO_PART |
notes
| added logical volume |
note:
- The system can have 4 partitions. Maximum number of primary partition is 3 and the rest partition have to be an extended partition.
On eCS, a drive letter is assigned as follows.
| SYSTEM_DRV | Windows7_OS | No label | eComStation
E: | USER
F: | LENOVO_PART |
note:
- I assigned drive letter "E" and "F" to logical volume used by eCS .
- Currently, my system can not recognize Windows partition, so start drive letter from "C" may be accepted.
Finally, you should decide volume space used by eCS and data partition.
e.g. My partitioning is as follows.
SYSTEM_DRV
Default size | Windows7_OS
Resized | No label
Default size | eComStation
1000MB | USER
2000MB | LENOVO_PART
Default size |
install eCS
create installation partition
At first, you must create partition to install eCS. Use HDD partition editor and create free space at start of HDD. The HDD partition looks as follows after you created the partition.
| SYSTEM_DRV | Windows7_OS | No label | free space(1)
3000MB | LENOVO_PART | free space(2)
1000MB |
note:
- The free space(1) is an amount of installation eCS space and user data space.
e.g. I use 3000MB to this space.
- The free space(2) is temporary space. It needs for eCS installation. The eCS installer cannot recognize the space to install eCS if free space does not exist at end of the HDD. At the end of installation, the temporary space will be deleted.
install eCS
Set eCS bootable media to USB DVD drive and boot from the media.
- Reset computer and press F12 at startup.
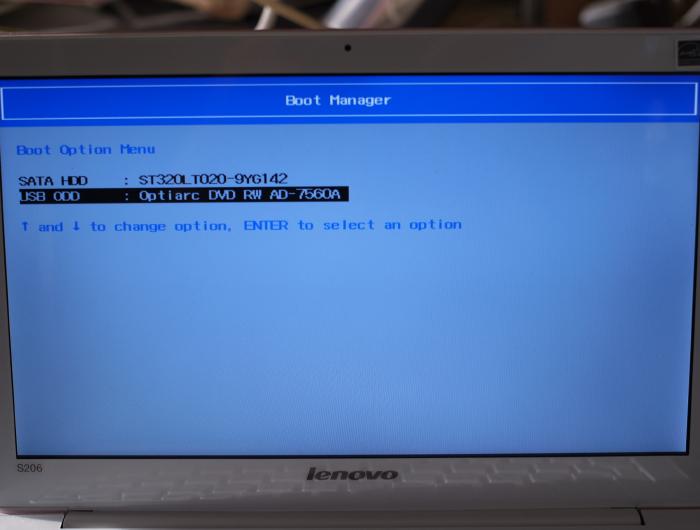
- Select USB DVD drive on the boot option menu.
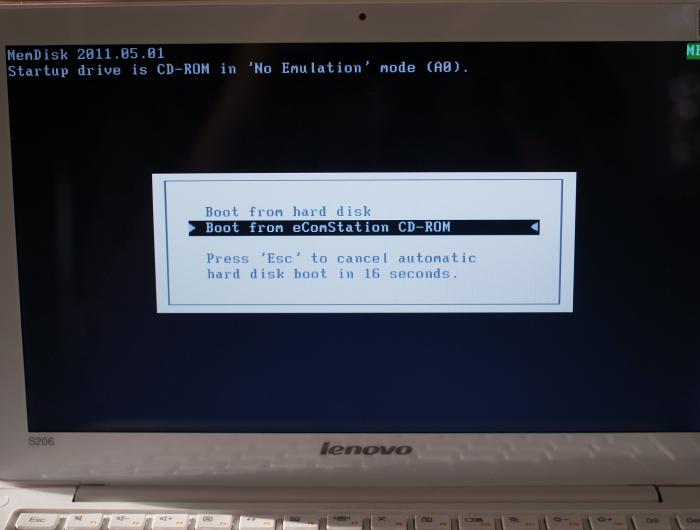
- Installer will start. Select "Boot from eComStation CD-ROM".
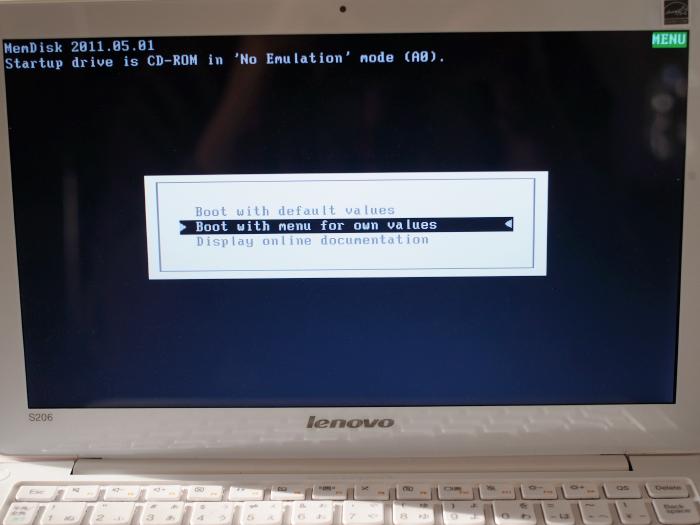
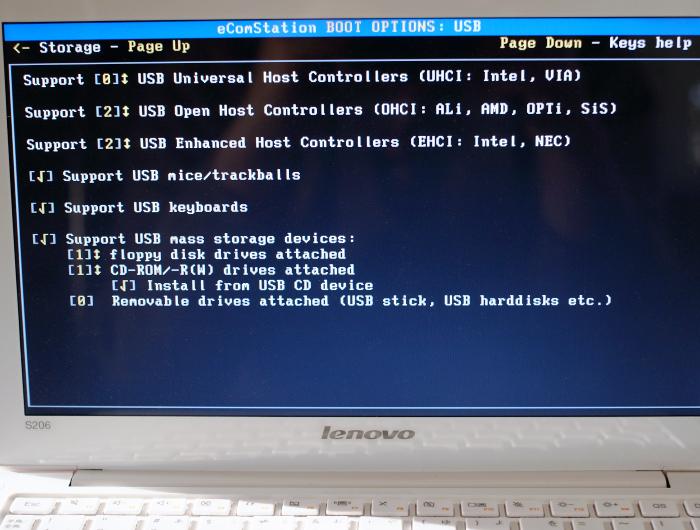
- Select "Boot with menu for own value" from the menu.
- In the boot option menu, select "CD-ROM/-R(W) drives attached" and check a "Install from USB CD device".
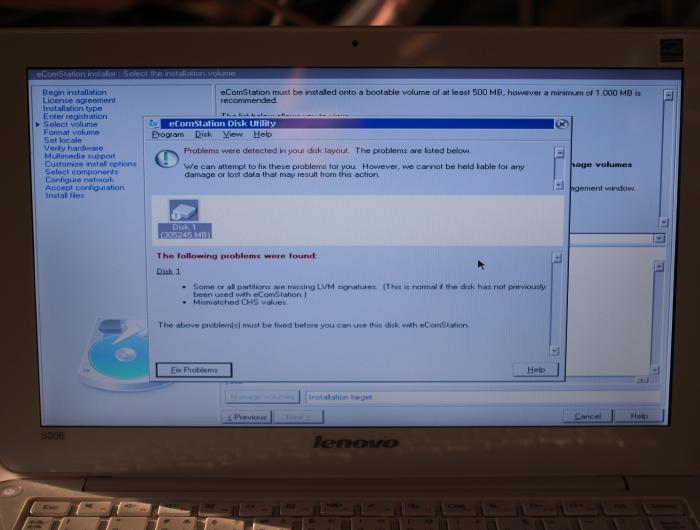
- Continue the installation process. When a warning message appears, click a [Fix problems] button.
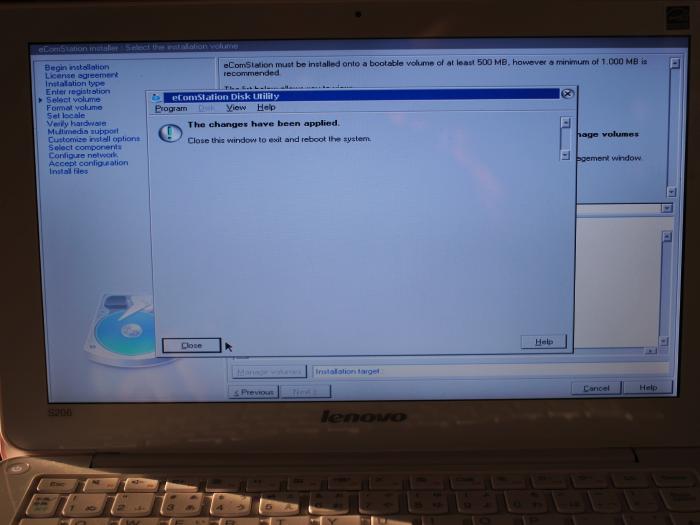
- Dialog as follows will appear. Click a [Close] button.
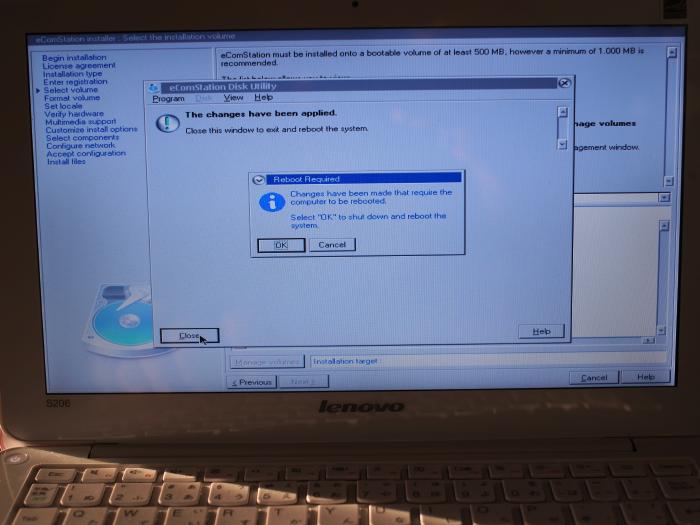
- Click a [OK] button.
- Restart system.
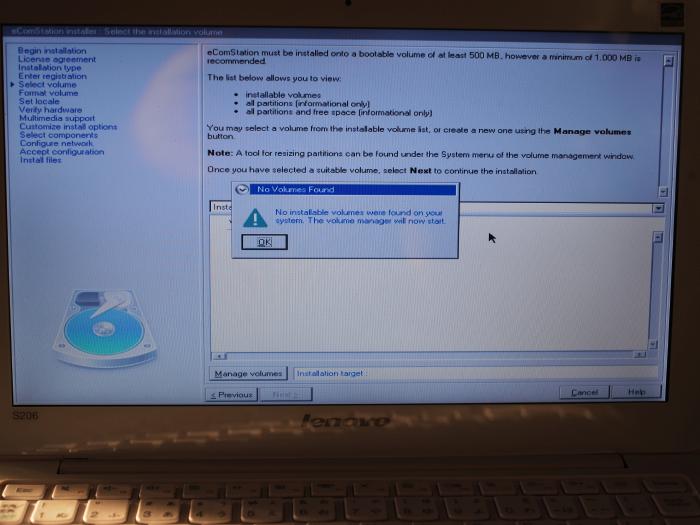
- Restart the installation process. At this time, no warning message will appear but there are still no volume to install. You have to create it.
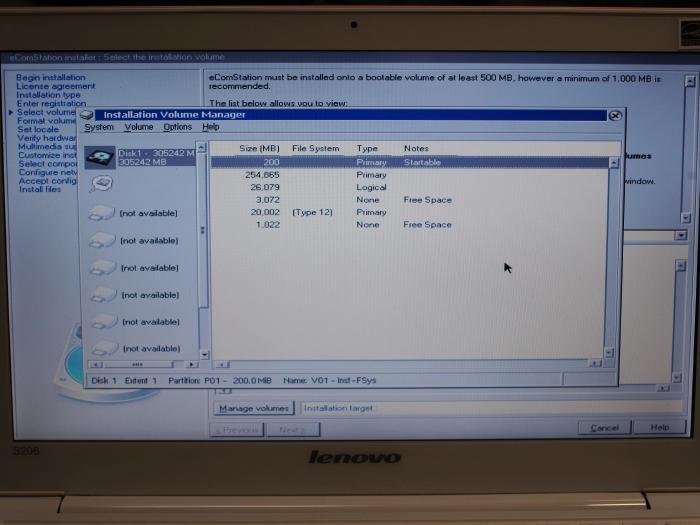
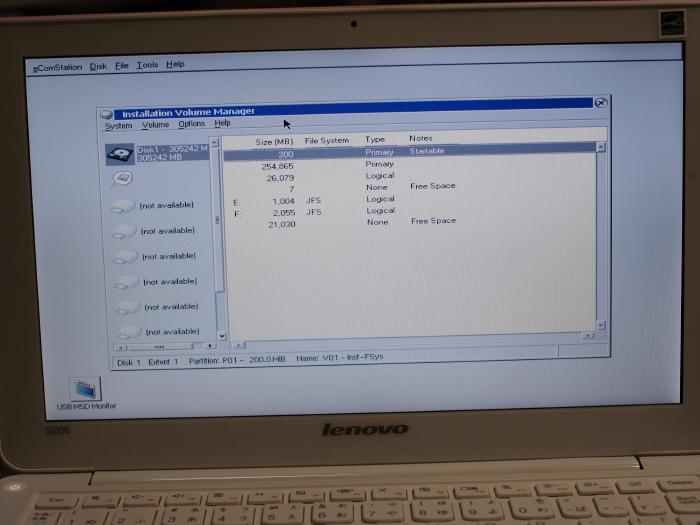
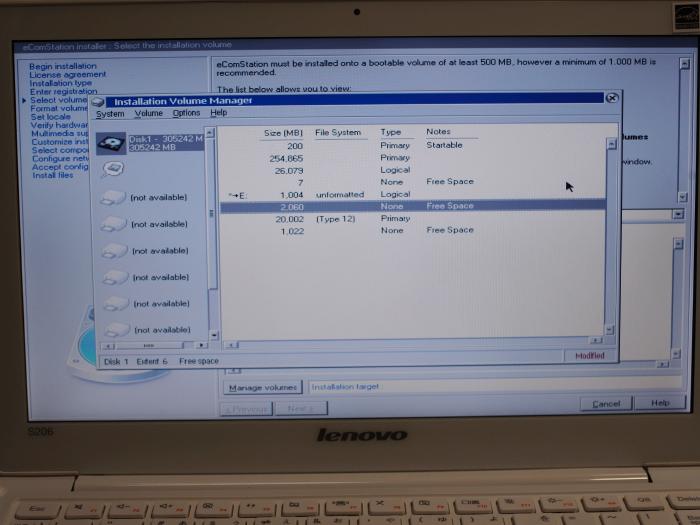
- Enter to volume manager.
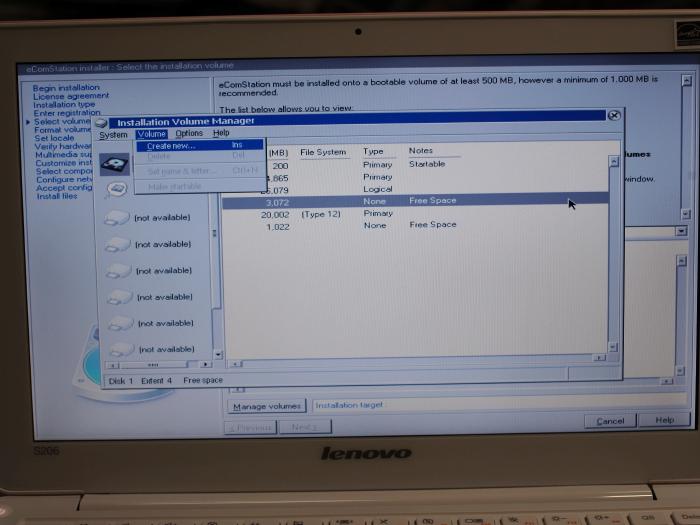
- Choose free space(1) and select [Volume]-[Create new...] from menu bar.
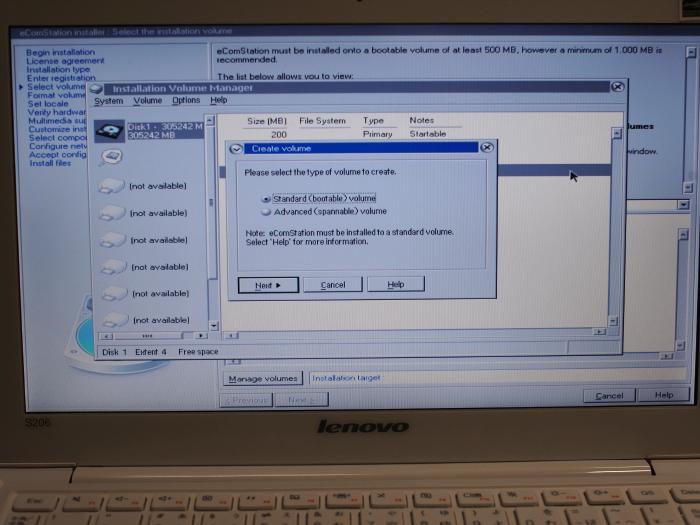
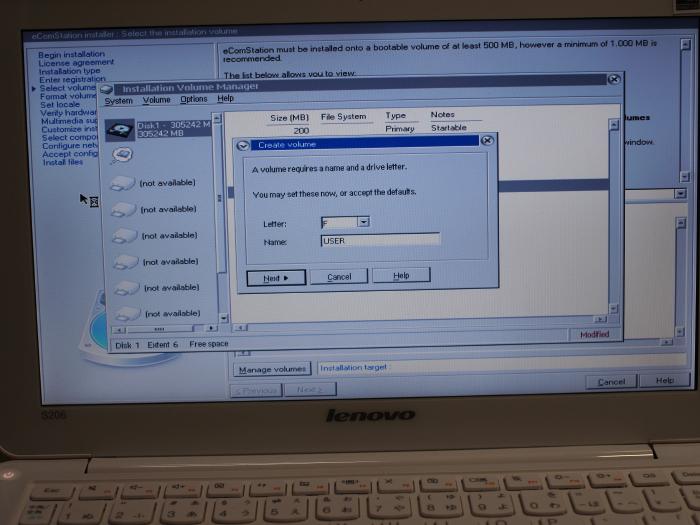
- "Create volume" wizard will start. Select "Standard(bootable) volume" and click a [Next] button.
- Select "E(or what you want)" from "Letter" pull down menu. "Name" is optional.
Click a [Next] button.
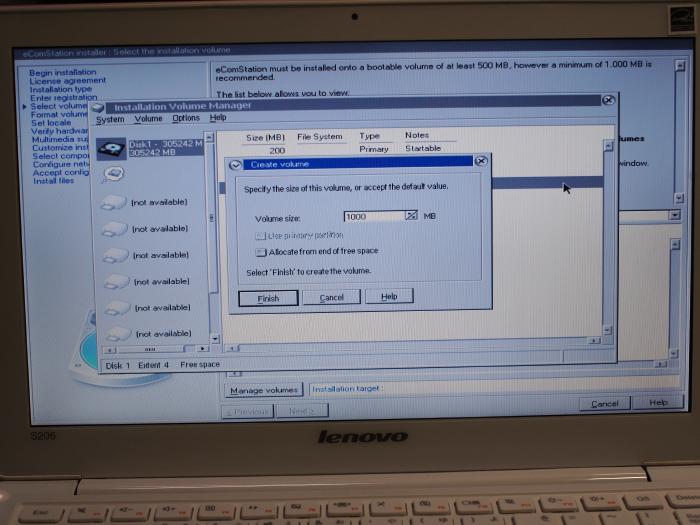
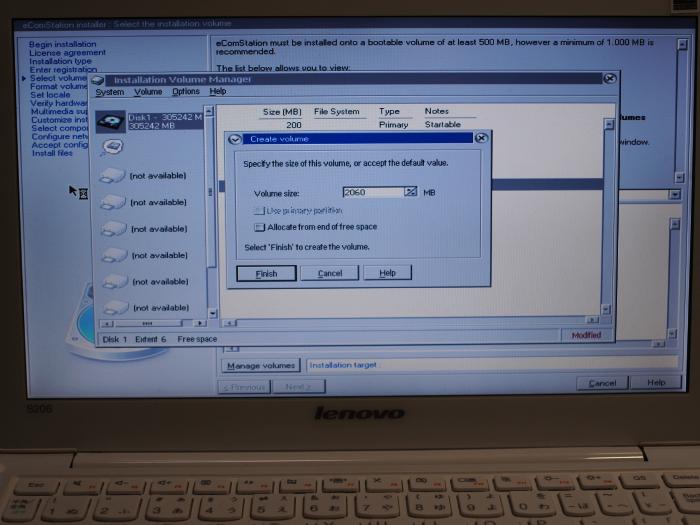
- Enter "volume size". A checkbox "Use primary partition" is grayed out.
Click a [Finish] button.
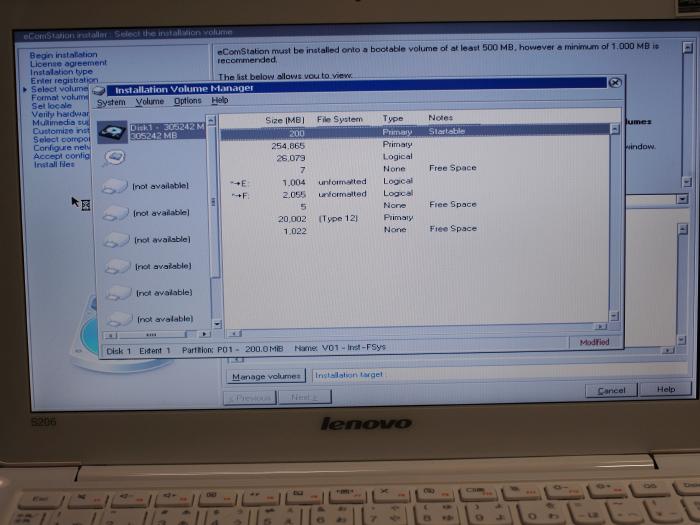
- A logical volume "E" is created. Also a free space which used a few HDD space is created too.
note:
- I don't know why a partition called "free space" is created. I think this is remains of "Boot Manager" used by legacy OS/2 system. Anyway, the partition takes no impact on using system. So I recommend "don't touch" for this partition.
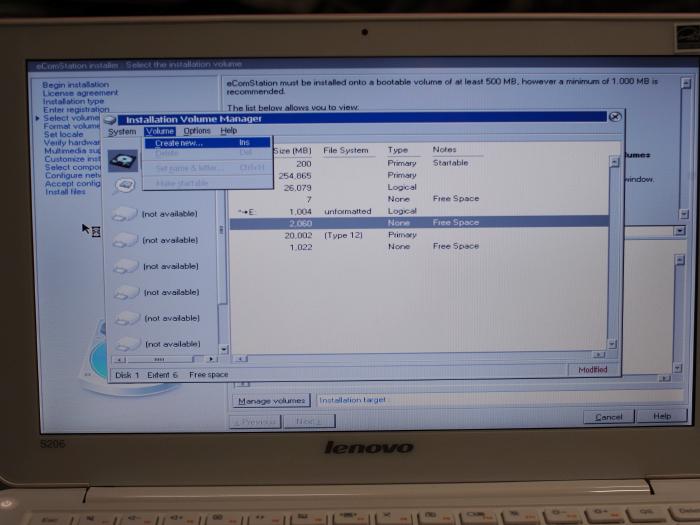
- Choose the remains of free space(2) and select [Volume]-[Create new] from menu bar again.
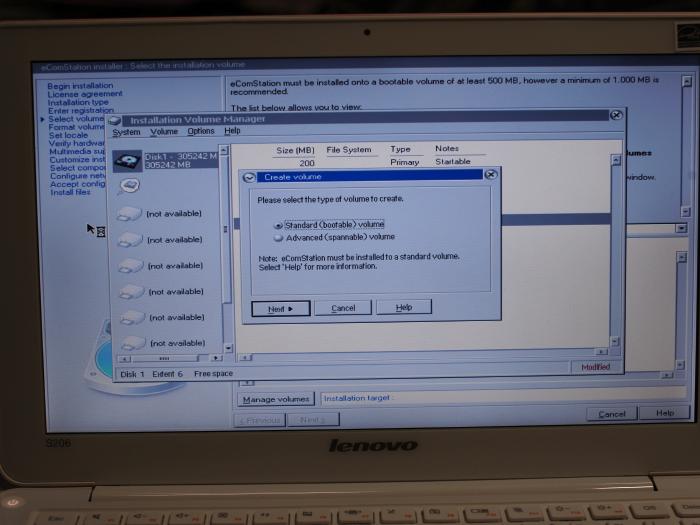
- Select "Standard(bootable) volume" and click [Next] button.
- Select "F(or what you want)" from "Letter" pull down menu. "Name" is optional.
Click a [Next] button.
- Enter "volume size". A checkbox "Use primary partition" is grayed out.
Click a [Finish] button.
- A volume "F" is created. Also a free space which used a few HDD space is created too.
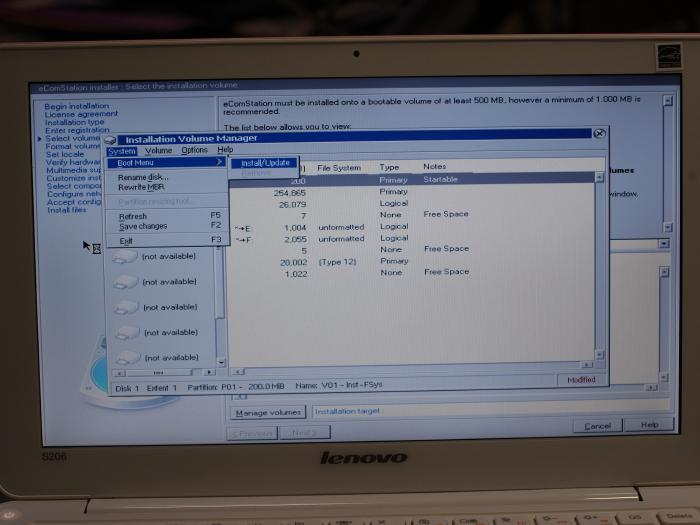
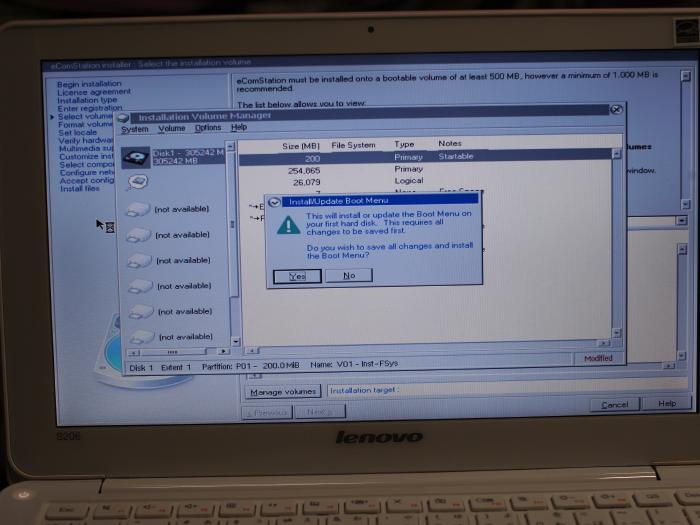
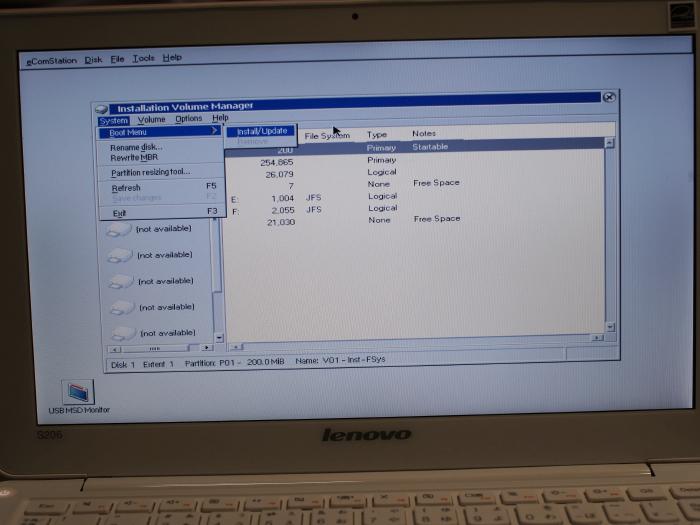
- Now install a boot menu. Select [System]-[Boot Menu]-[Install/Update] from menu bar.
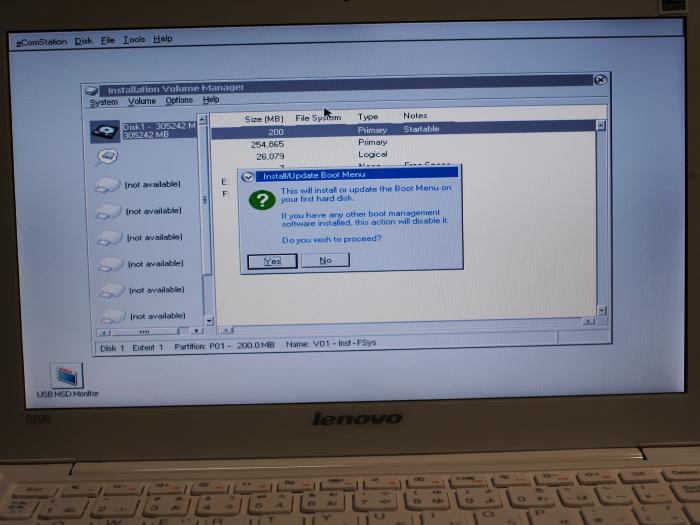
- Click a [Yes] button.
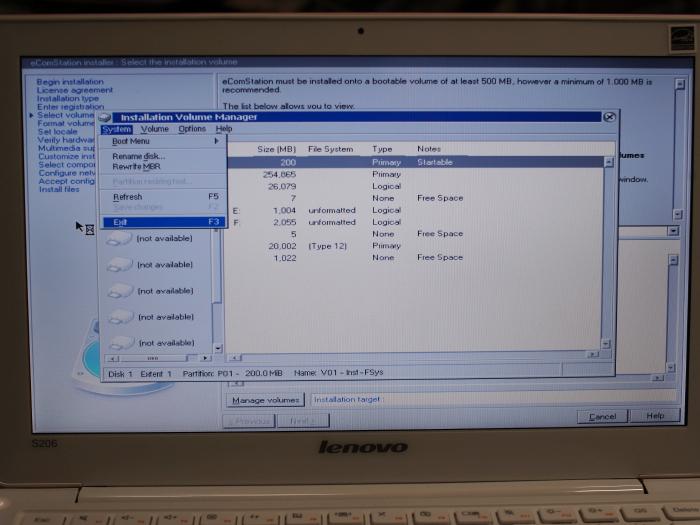
- Save changes and elect [System]-[Exit] from menu bar.
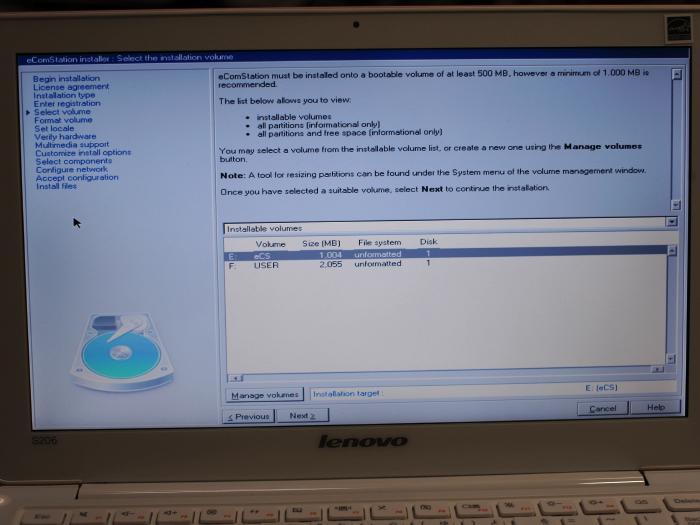
- Installable volume is created. Continue the installation process.
- Don't choose "AHCI" and "ACPI" option at this time. It causes system stop in boot progress.
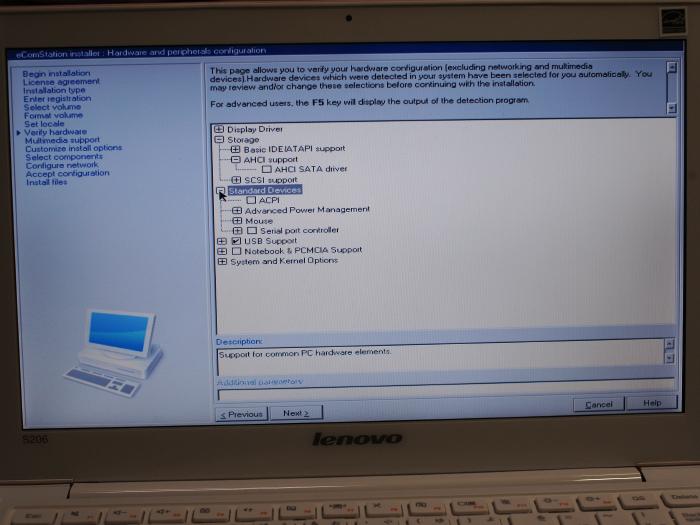
note:
- If you want to use "ACPI", install the latest driver after eCS installed. Current "AHCI" driver did not work when I tested.
]
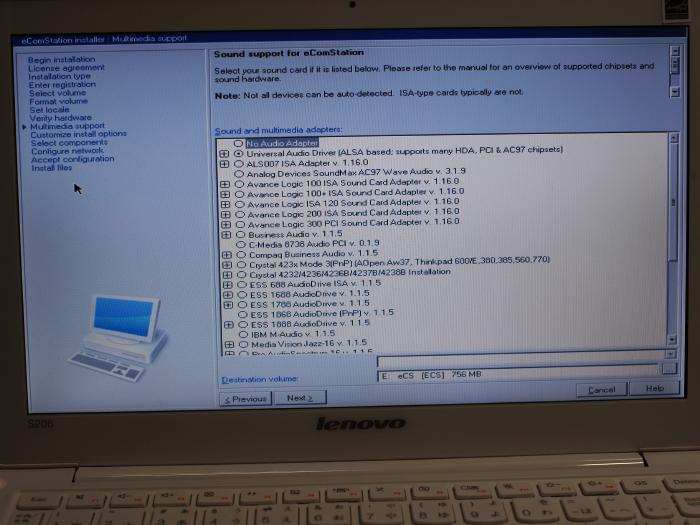
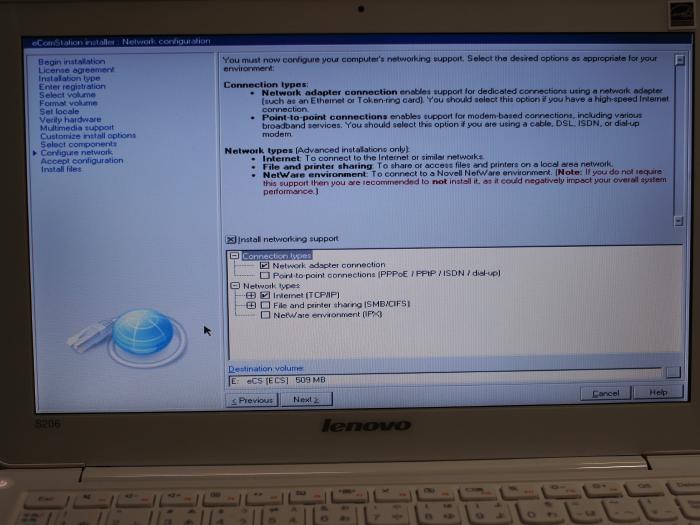
- Select "Universal Audio Driver" for audio device.
- ideapad S206 has Ralink 3090 wifi adapter. It is not currently supported under eCS, but I install network support option for the reason that I expect it will be supported later.
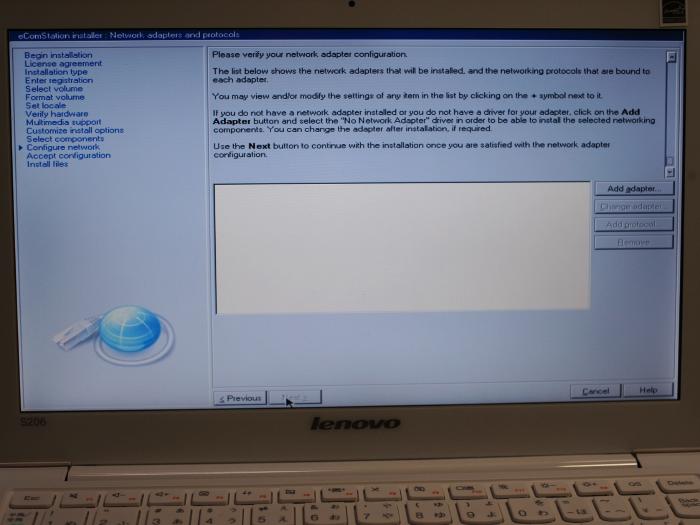
- No network adaptor is detected. Click [Add adapter...] button.
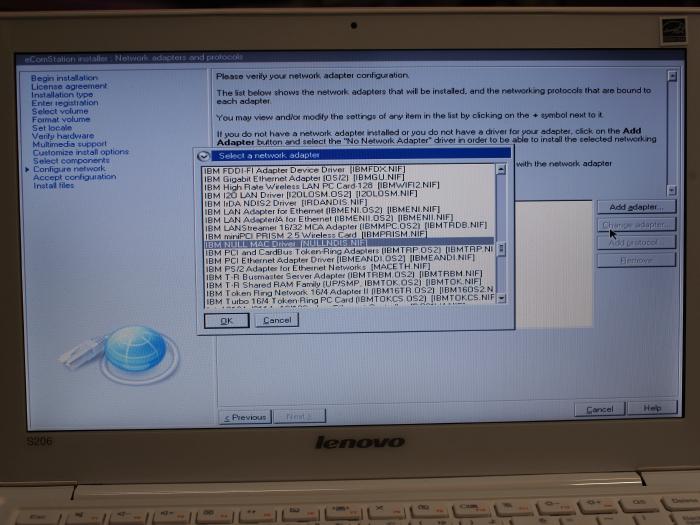
- At this time, I installed "IBM NULL MAC Driver".
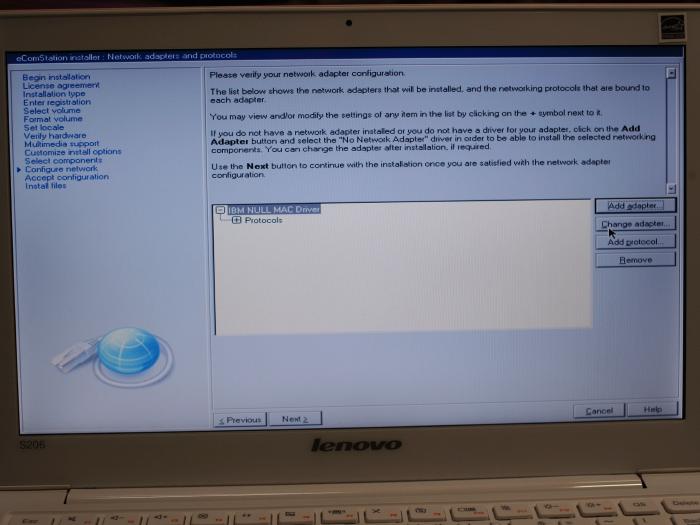
- "IBM NULL MAC Driver" will install. Continue...
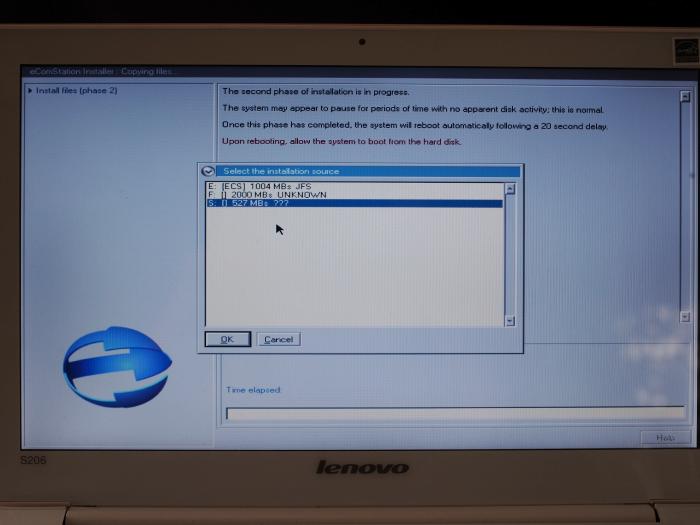
- If the dialog as follows appear, select USB DVD device. Then installer will continue and all will be done correctly.
After installation is completed, the system partition looks as follows.
| SYSTEM_DRV | Windows7_OS | no label | free space(3) | eCS | USER | free space(4) | LENOVO_PART | free space(2) |
delete free space(2)
Use partition editor and delete free space(2) at end of the HDD. The free space(3) and (4) use only a little space of HDD so do not care of them.
After done this operation, the partition looks like as follows.
| SYSTEM_DRV | Windows7_OS | no label | free space(3) | eCS | USER | free space(4) | LENOVO_PART |
end of installaton
At now, all of installation proccess is done. Enjoy your computer life!
note:
- Currently wireless lan is not worked on eCS.
- Currently, ACPI driver might conflict with Amouse driver. I use old IBM Mouse driver like as follows.
rem DEVICE=E:\ECS\BOOT\AMOUSE.SYS SMP

rem DEVICE=E:\ECS\BOOT\USBMOUSE.SYS

DEVICE=E:\OS2\BOOT\MOUSE.SYS

DEVICE=E:\OS2\BOOT\USBMOUSE.SYS
Appendix: after recovery computer
If you do pre-installed Windows OS recovery, the Master boot record(MBR) is overwritten and boot menu is deleted. In this section, I show how to re-install boot menu to recovered computer.
- Attach USB DVD drive to computer. Set eCS installation CD to DVD drive and start installation process.
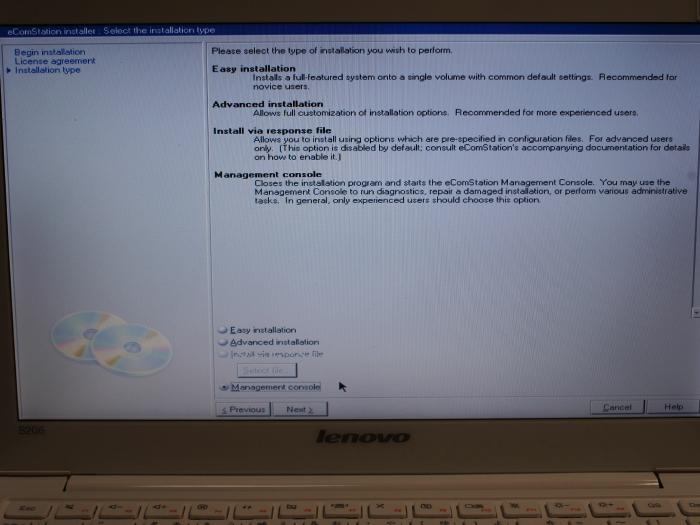
When installer is started up, select "Management console" and click [Next] button.
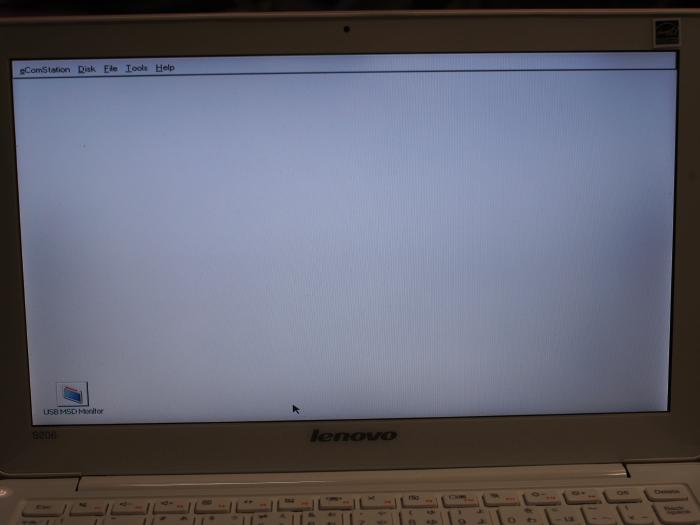
- "Manage console" will start up.
- Select [Disk]-[Manage volume]-[Graphical] from a menu bar.
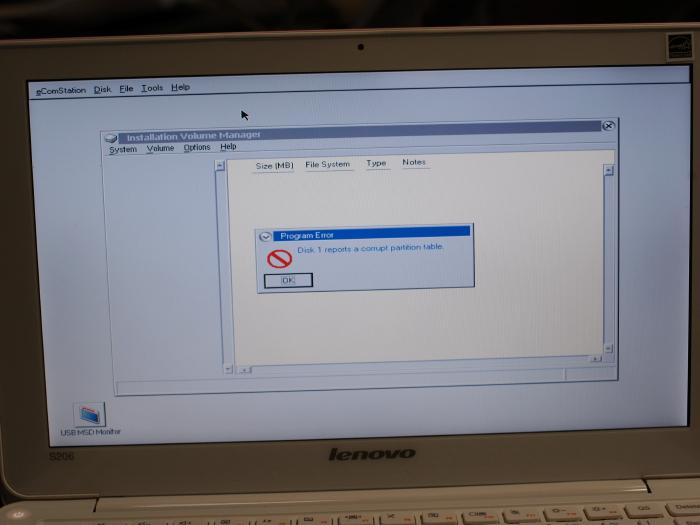
- Warning message will be showed. But don't care. Click a [OK] button.
- The volume manager will start up.
- Select [System]-[Boot Menu]-[Install/Update] from a menu bar.
- Click a [Yes] button.
- Click a [OK] button.
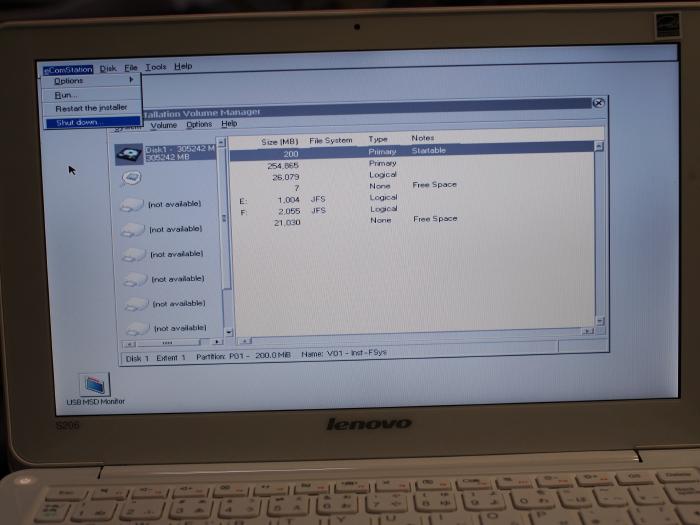
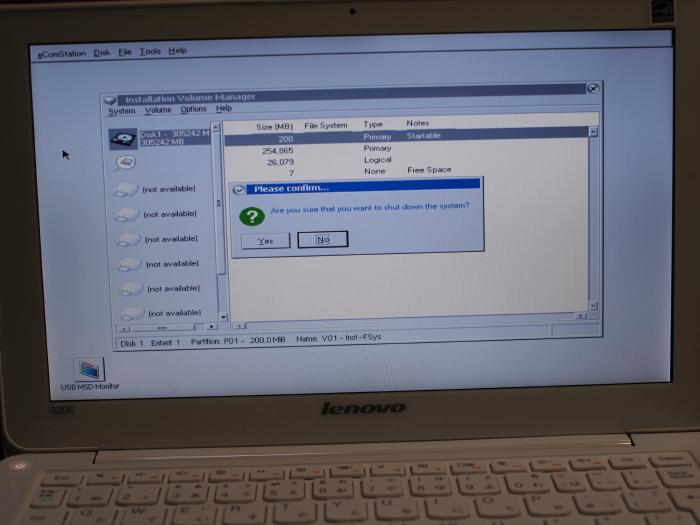
- Select [eComStation]-[Shutdown] from a menu bar.
- Click a [Yes] button.
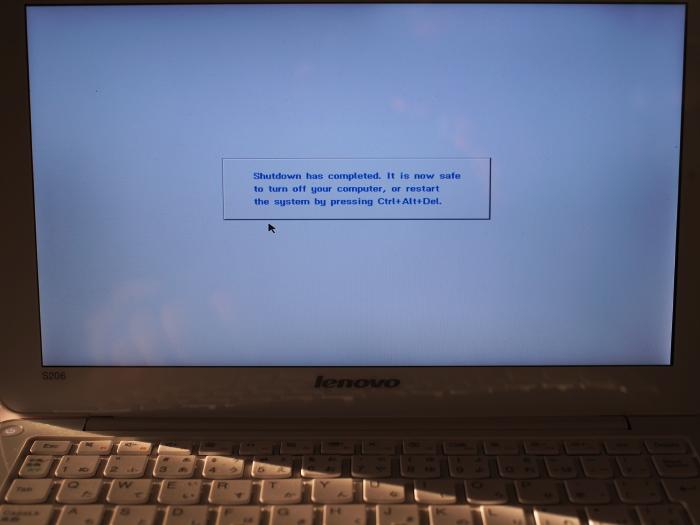
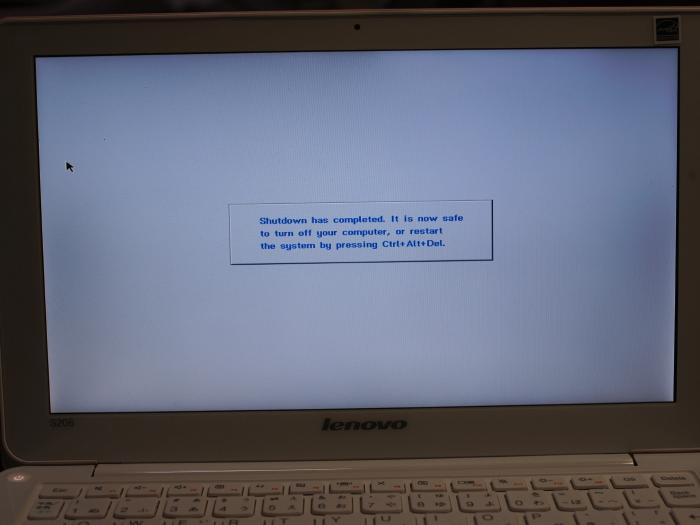
- Message as follows will be shown. Restart your system.
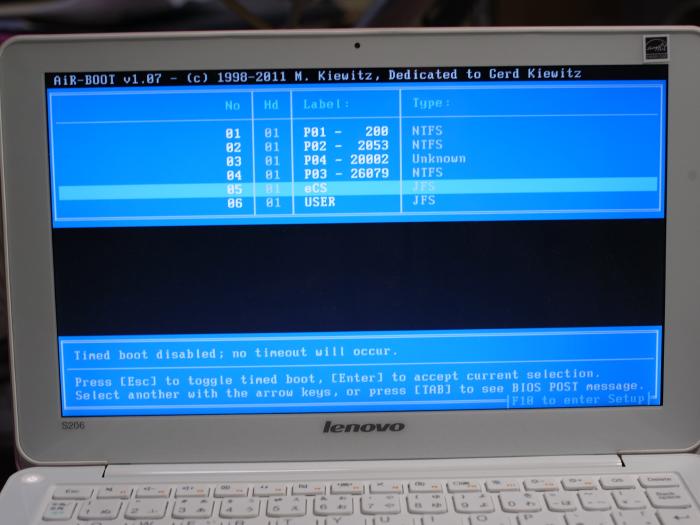
- You can use boot menu again.
Kamiyama Kimiharu(Japan)
E-mail: nec%pcfx.jp (replace % to @)
Go back(japanese site).